


The new drywall in our master bedroom has a “knockdown” texture. When the room was ready to be painted, I selected Sherwin William’s Svelte Sage green paint SW 6164. Because of the textured drywall, when it came time to order the mural from Photowall, I chose the premium quality mural, which has a matte finish and will help camouflage the texture.
The wallpaper mural comes in one long roll for each wall. There’s a dotted line where you cut to divide the sections. Each section is clearly marked in numerical order. Photowall also sends you a package of ready-to-mix wallcovering adhesive. I used a clean 2-gallon plastic bucket. After I poured a gallon of lukewarm water, I slowly added the powdered paste, stirring briskly. I continued to stir until the glue became nice and thick. The directions said to wait 5 minutes, and then stir the glue once again. Now it was ready to be applied directly to the wall. I used a wide paintbrush, but if you prefer, you can use a roller. I brushed the glue wider than a wallpaper mural section. I made sure to get plenty of glue in the first corner, baseboard, and along the ceiling.
I had two people help me out with this project: my friend, Laurie Grathen and my husband, Paul. I highly recommend having a second set of hands, or in my case a third set of hands, just to help you hold the panels in place, especially when you have high ceilings like ours. The glue on the wall acts like sizing. It makes it easier to slide and position your wallpaper. With Laurie’s second set of hands, she was able to align the lower portion of the mural while I worked on the upper portion, from a 10-ft. ladder. When I applied the second panel, Laurie and I had to make sure the mural matched up with the first panel. Photowall wallpaper murals make it very easy to match the designs. I used a straight edge and a razor blade retractable utility knife to trim the overlapped paper at the ceiling and baseboards along the way. Photowall recommends ordering the paper 5”- 8” longer than necessary so you’ll have extra for margin of error (at the ceiling and baseboard).
 Every now and then the three of us stood back to observe the transformation. Holy crap! We couldn’t believe how beautiful the room was becoming! It was so exciting to see the dreamy forest come to life! There’s something about larger-than-life misty and foggy forest wallpaper that made our minds wander. As soon we found the first bird, we searched for the other hidden birds. Here’s what they look like up-close. I’m beyond thrilled the way the room turned out. Our master bedroom looks a thousand times better.
When you look at the “after” photos, try to picture yourself in the misty forest. Imagine a gentle breeze that rustles the leaves, birds chirping, and a gentle sunlight streaming through either one of the bedroom windows. I can’t believe how stunning the room is! If you’re looking for a beautiful and fast way to change the look of a room with wallpaper or a stunning mural, I highly recommend Photowall. 
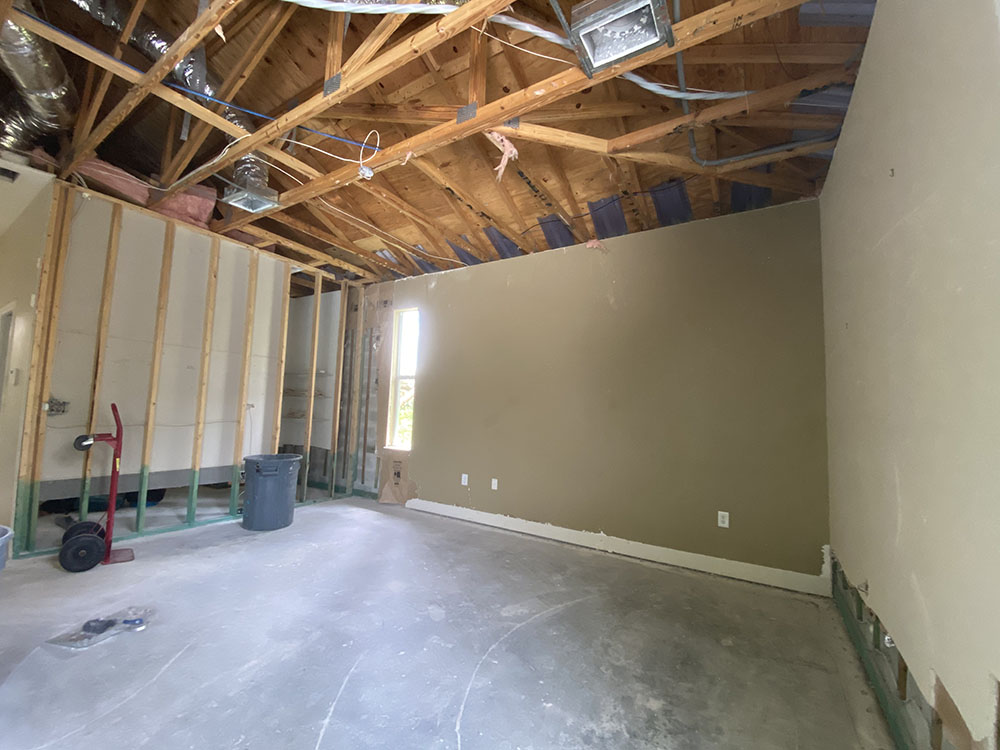
In the last slider with the set of “before” and “after” pictures, the before photo was taken before Hurricane Ian. The before-and-after photos speak for themselves. But our story has become about so much more than the transformation of spaces. It’s become a story of friendship, despair, renewal, and loss.
The former ceiling fan with light had to be replaced since the hurricane destroyed it. My husband and I rarely ever used the ceiling fan, so I searched for a light pendant that would pair beautifully with the wallpaper mural. It didn’t take me long to find a LED vintage light chandelier. The wood branch lamp body is made of high-quality resin material. There are a dozen transparent glass balls, and the light fixture’s chain is adjustable to accommodate both high and low ceilings for better lighting and decorative effect. After it was hung Paul and I loved the woodsy look without looking like cabin décor.


Wow…just…wow! Your room was lovely before, but now it’s WOW! The mural creates an entire landscape of dreamy comfort and the chandelier is a perfect addition! It seems like your furniture is floating in a forest of tranquility. You must be thrilled with the room and you should be! Bravo!
Thank you for your compliment. It means a lot coming from someone as accomplished as you.
After such a tedious ordeal, the reward of finishing in such a spectacular way almost made it worth it. Not that we’d ever want to do THAT again. The mural adds so much depth to the room that paint alone never has the ability to do. They tried with all that faux finish stuff….but that was child’s play compared to the Photowall. Thank you for letting me be a tiny part of the process. I learned a lot from you and was stunned by the result. I would sleep so well in there!
Thank you once again for your help and for complimenting my work. Your feedback means a lot.