
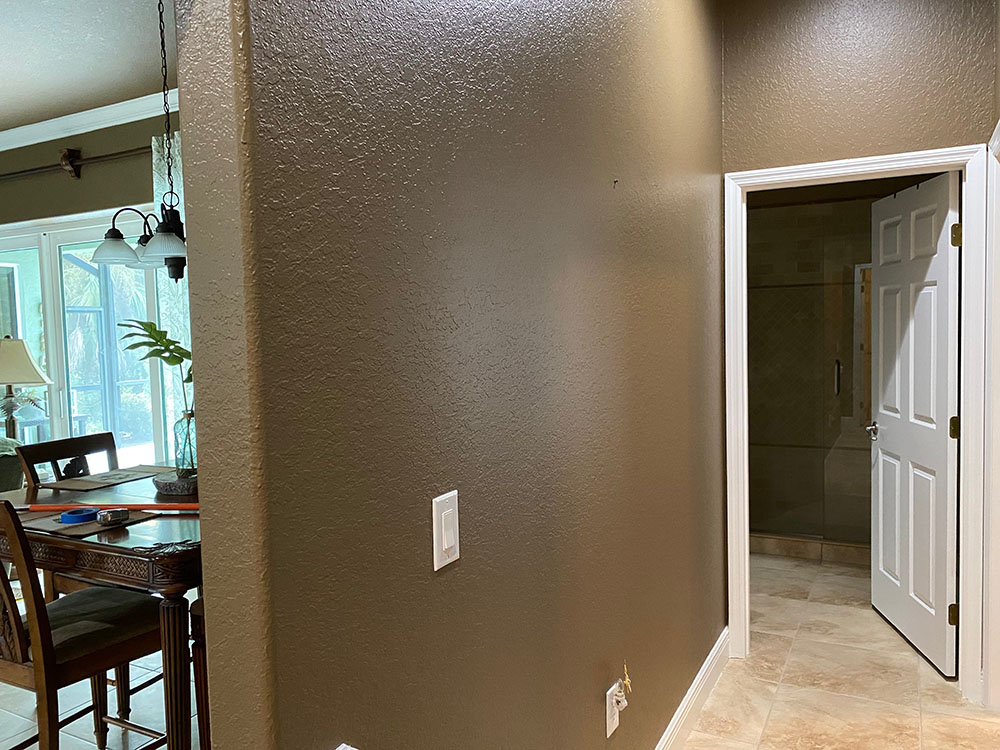

I knew I wanted to create a gallery wall after we renovated our home. It would be a place to hang our most-prized framed possessions and pay homage to the past. I felt there’d be no better place to hang those framed items than on the long blank moody wall between our two guest bedrooms. The contrast would make our art leap off the wall and add some pizzazz. Figuring out where to hang the gallery wall was only half the battle.
I quickly discovered that putting together a gallery wall and making it fit was the other half of the battle. Composing a layout within the limited space was easier said than done. In fact, it was a daunting challenge. I wanted to hang both new and vintage frames, which were in various shapes and sizes, and make them look oh-so-great together.
To start, I didn’t want to pound a bunch of holes in the newly painted wall. So, I measured the amount of space I had to work with. Then I used 2 tape measures to box off the length and height on the floor. (Yes, I could’ve used painter’s tape, but I didn’t.) Next I placed the 3 largest pieces that I planned to hang at eye level on the floor. Eventually those 3 pieces will become focal points. Once that was established, it was time to construct the rest of our gallery wall. I laid out all our framed possessions. I paid close attention to the spacing between each piece. I played around with all the pieces until all of the art looked great together.
Which one is the masterpiece? Paul will tell you it’s the Crosby, Stills, and Nash painting. Contradictory, I’d say it’s the framed crewel embroidery. I’m a storyteller. So, let me tell you a story in a way for me to combine my passion for storytelling with my passion for designing.
Nine years ago, when I arrived at Andy’s home, I wheeled my luggage to a partially finished bedroom. There weren’t any baseboards or closet doors. My oldest son was in the middle of remodeling what he called “mom’s room.” At the time, there wasn’t much in it: a double bed frame with mattress and box spring, a small nightstand, a lamp, and this framed crewel embroidery. It was leaning against the bottom of a wall on the wall-to-wall carpeting. I believe Andy intended to hang the treasured needlepoint on the wall, but never had a chance to. (My wonderful son left this earth in 2014, when he was 33, during Spring fishing season. The boat capsized and his body sunk to the bottom of Lake Erie. Andy’s body was found 22-days later.)


While I was on maternity leave 43 years ago, I wanted to make a project that I would enjoy. I chose a project that I would actually “want” to do, rather than one that I thought I “should” do (like a book-writing project that’s been lurking in the back of my brain for years). I was particularly interested in this ABC arrangement because it sparked joy. I wanted to create something that would make me and hopefully my child happy.
So, I purchased the all-inclusive crewel embroidery kit. It came with the cotton twill fabric, embroidery hoop, needles, yarn, and step-by-step instructions. The ABC design was printed on the heavy fabric, like paint-by-numbers. All I needed to do was just sew over it to re-create the design. I’ve never done any needlepoint work before so this would be my first. It looked surprisingly easy. But, it turned out to be way more complicated than it looked, especially for a beginner like me. However, I was up for a challenge! I was amazed at how much time it took to sew all the different stitches, but I enjoyed the process. There was a variety of surface embroidery stitches – satin stitch, long and short stitch, stem stitch, French knots, split stitch, chain stitch, etc. The more I stitched, my confidence grew and my stitches flowed with ease. Some days I’d average an hour or two, but other days were only 25-minutes. I finished a couple of months later. It was incredible to see all the textured ABCs come together. And what a feeling of accomplishment once it was done!
There was a blank box to stitch my baby’s name. Back then mothers didn’t know the gender of the child they were carrying. And I hadn’t picked any names ahead of time. Therefore “Andrew” wasn’t stitched into the canvas until after he was born.
So, what happened with my project, did I “do” anything with it? It hung in Andy’s nursery. When he outgrew the nursery, the crewel embroidery remained in his room throughout his growing and into his young adult years. As I mentioned in the beginning of this blog, the needlepoint masterpiece was about to be hung on a wall in my son’s home, in a room of my own.


What about you? If you had come across a piece of needlework that you had stitched back in 1980, would you rescue it? Is it something you’d keep? What would you do with it? Would you keep it, sell it, or donate it? Would you hang it on a gallery wall?


Add a Comment
You must be logged in to post a comment